
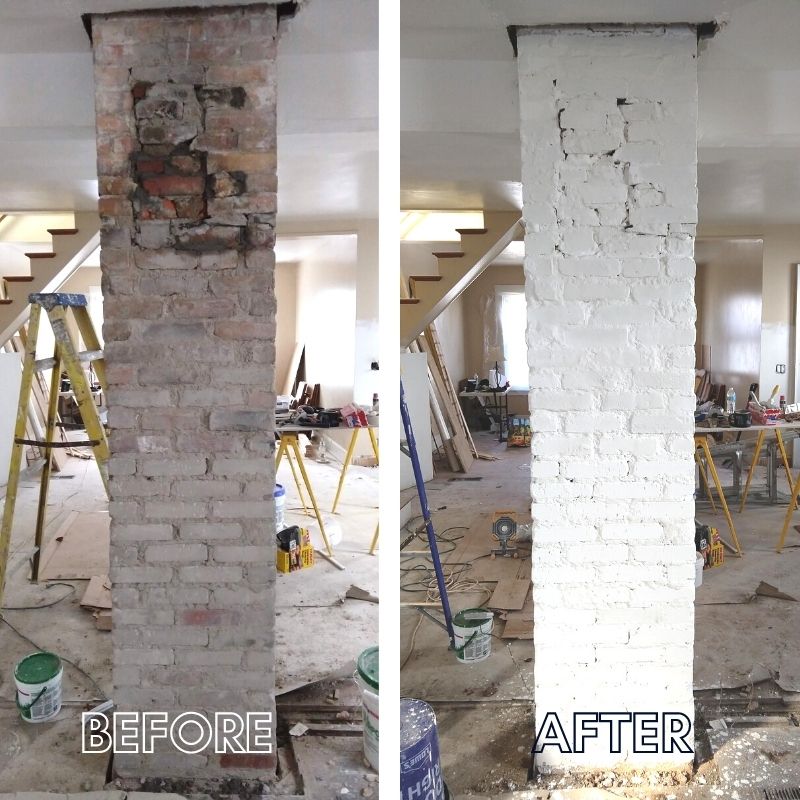
If you pay attention to any housing design blogs or HGTV shows, it feels like a common solution to make something look new and fresh is to simply paint it white. This isn’t always the best or most creative solution in my opinion, but having resorted to just such a tactic in my flip property to give a chimney new life, I have to say, it has its merits.
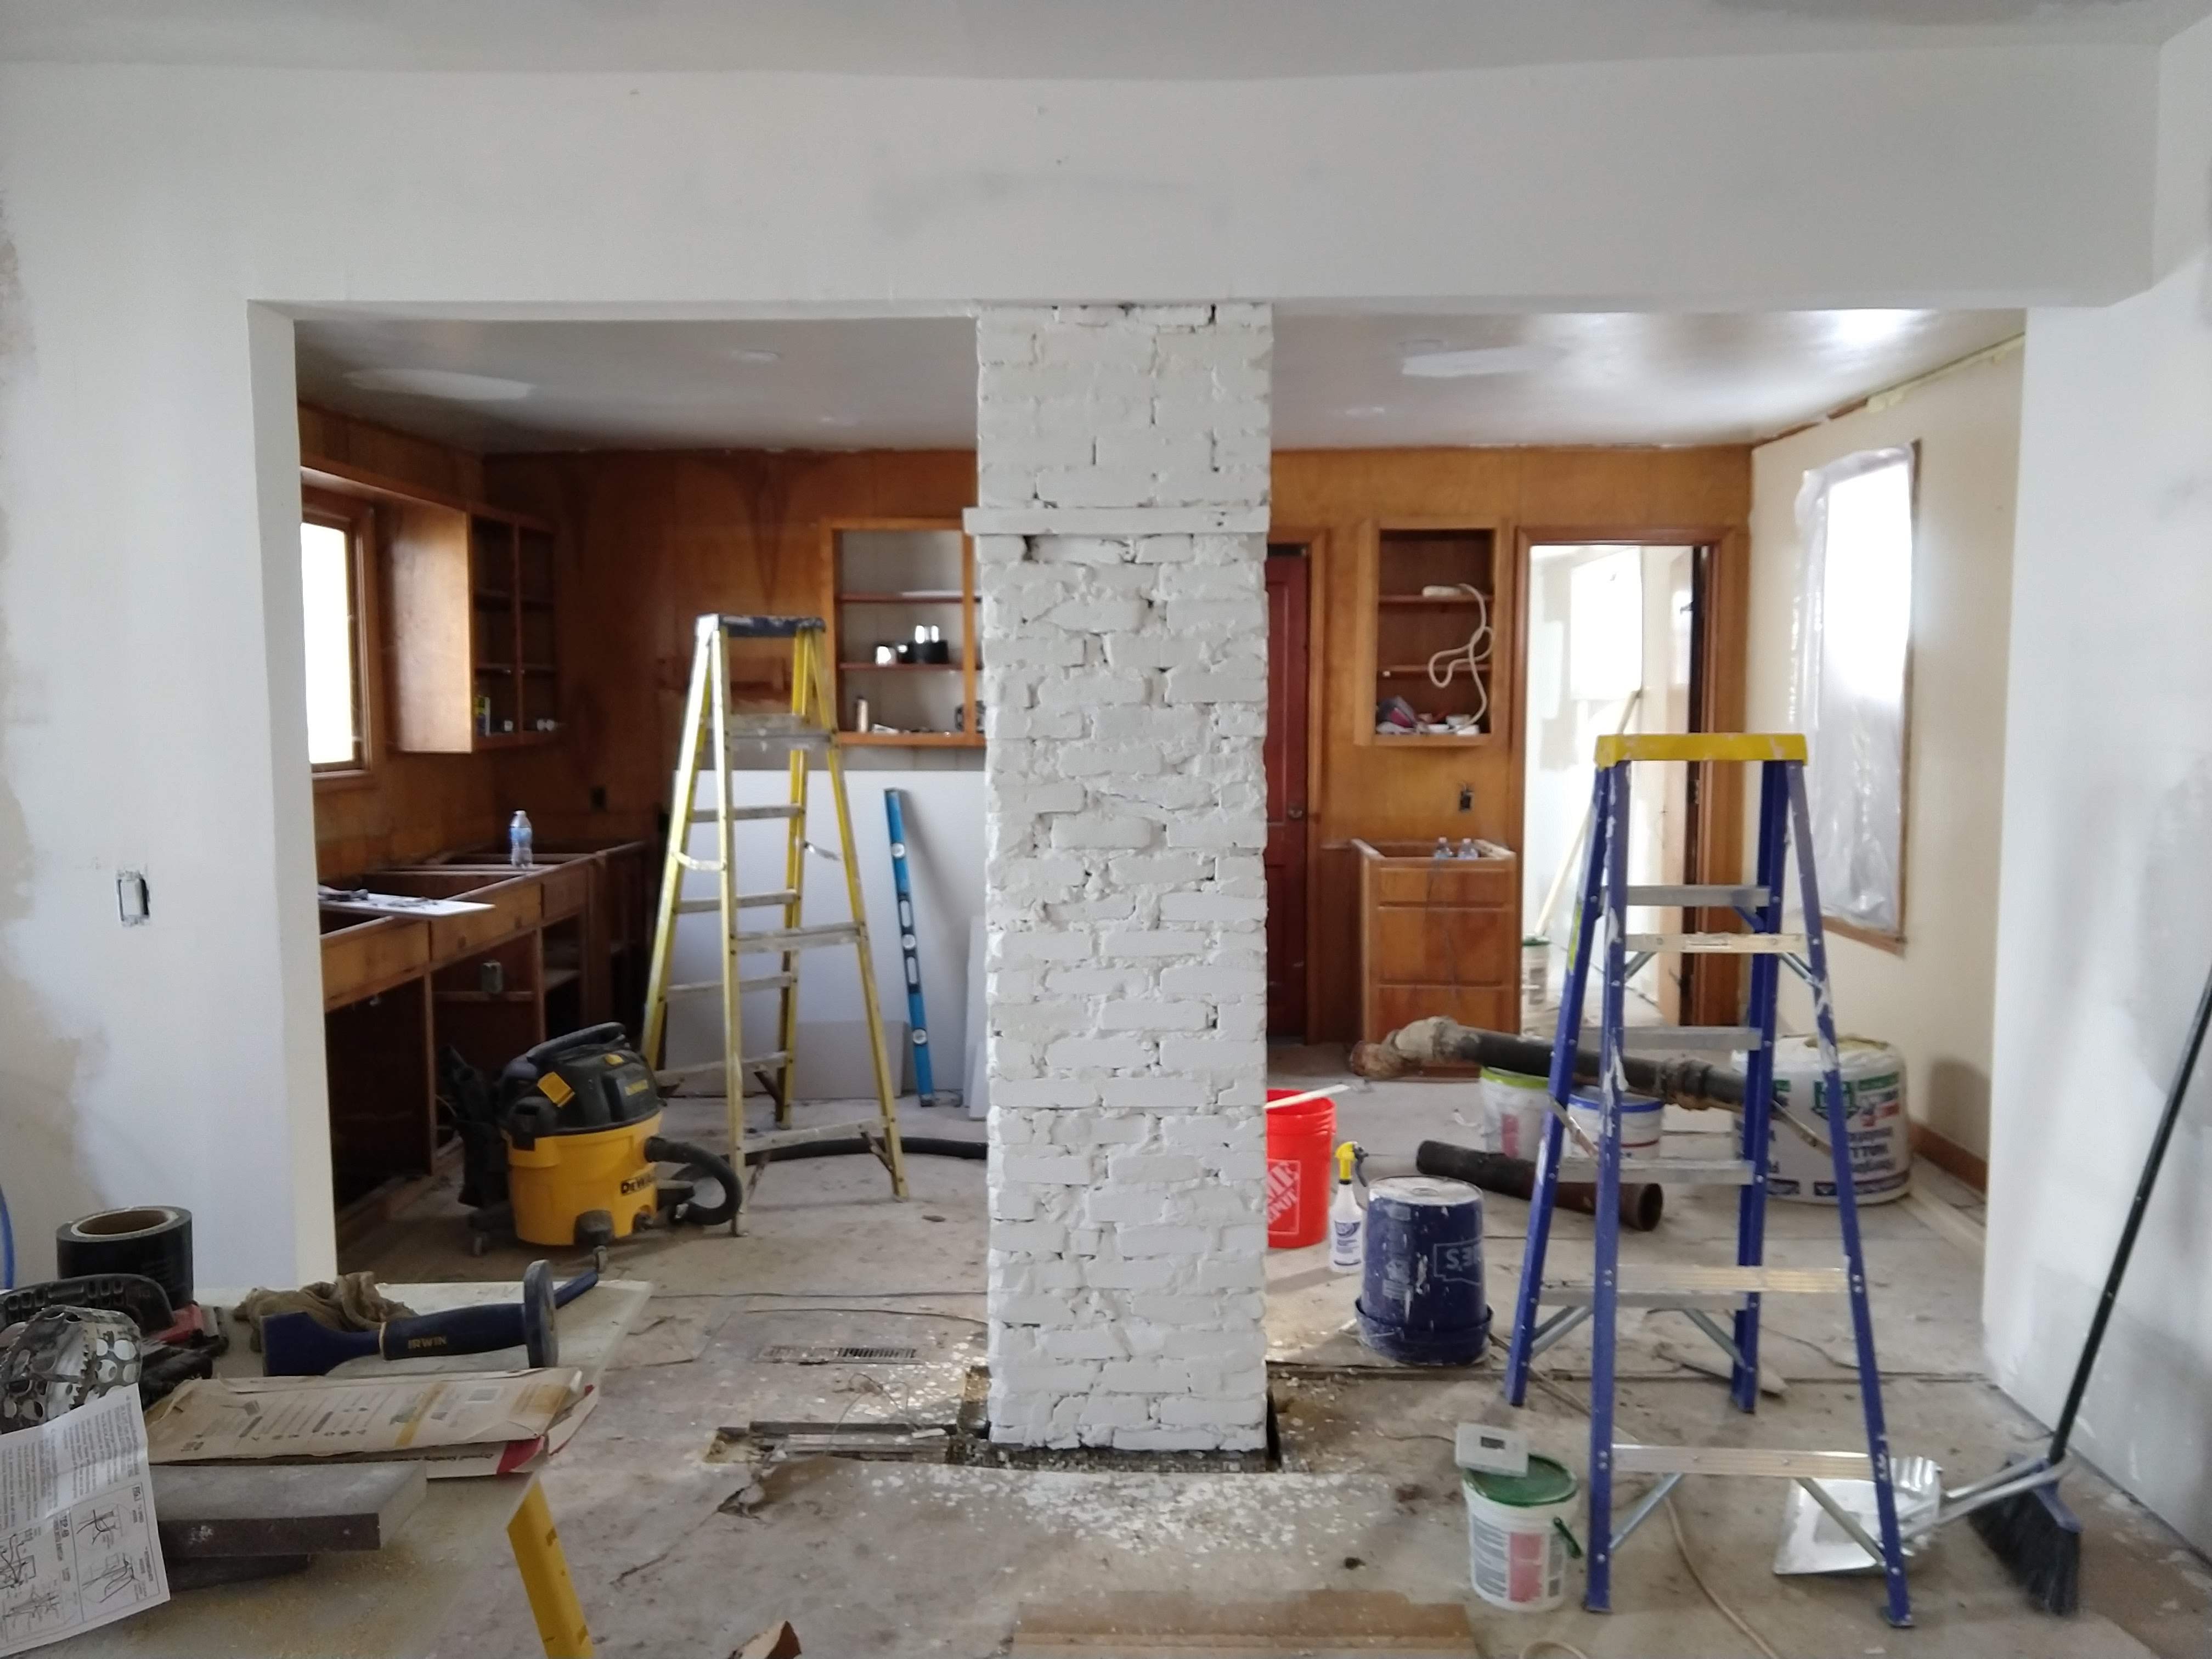
I mean, look at the before and after. This chimney was not in good shape with missing and various kinds of bricks and a shitty spotty mortar job, but painted white I think it falls into the category of “adding character” instead of being something we should probably cover up. You can still tell it’s not in perfect condition, but the white glosses over the obvious imperfections and makes for an eye catching break in between the kitchen and living room. And, it was an inexpensive fix to boot!
So, let’s get into it. What exactly is limewash?
According to the internet, limewash is a mix of powdered limestone that has been treated with heat and water to change its chemical composition. The resulting product provides a durable, but porous coating that calcifies, becoming one with the brick and will patina over time for a natural look.
Basically, it looks like a mound of clay and you mix it with 50%-70% water to create a very loose paint-like substance. I believe you can also buy it powdered which I might look into if I ever have more brick I want to paint.

Before I could get to the limewash, I spent a good deal of time cleaning off the chimney, chipping away overzealous bits of mortar, and scrubbing with water and a rag. You can tell from the photo that it was fairly filthy. I also filled some of the more obvious holes with bits of brick and cement. Once that had time to set and dry, I wiped the whole thing down again to prep for the limewash!
This is an incredibly simple, effective, and inexpensive DIY. All you need is a spray bottle, some water, a paint brush, a mixing bucket, masonry brush, and limewash.
INSTRUCTIONS
- To begin, combine the limewash with 50-70% water in a mixing bucket. Start with less water and gradually add more until you reach a thick paint-like consistency.
- Starting in the top left hand corner of your brick, spray a section of the brick with water until damp, but not dripping.
- Use the masonry brush to apply the limewash. The paintbrush is good for getting into the nooks and crannies.
- If desired, once the paint is almost dry, you can spray sections with water and wipe away some of the limewash. I opted not to do this since my brick isn’t in good condition and I like how the solid white looks.
- Let dry completely and apply another coat if desired.
This is truly a simple and accessible DIY that I found to be very forgiving. I didn’t use precise measurements and found that the application was easy and rewarding.
What do you think–improvement or major mistake? Do you like the look of limewashed brick or are you a traditionalist?

One thought on “How to Limewash an Old Decrepit Chimney”